

How To Install Dvd Drive On Windows 10
Fix: DVD commuter for Windows 10/11 is not detected
Updated: Posted: January 2021
- Are you using a DVD commuter for Windows 10?
- If and then, you don't need us to remind you how frustrating it tin can be to accept a drive that's not working, non reading discs, not showing in the Device Manager, and and then on.
- Fortunately, with a couple of bang-up tweaks, yous can be sure to go that DVD driver working again in no time.
- It may have to work at the Registry level or even deeper, into the BIOS, so endeavor all our tips when your DVD drive is not detected in Windows x.
XINSTALL BY CLICKING THE DOWNLOAD FILE
Just like any other operating system, Windows ten has its share of issues. I particular issue that users reported was the DVD drive not detected in Windows x.
This tin be a big problem especially if you use optical media frequently, so let'southward see how to fix it.
How to install DVD drive in Windows 10?
DVD drives are unremarkably just plug and play then they just need to be connected and they'll be set to use. Many accept reported that DVD isn't working in Windows x, but that'southward most likely due to hardware issues.
This isn't the only issue, and few users reported that CD-ROM isn't working in Windows as well, but is usually caused by a bad connection.
If PC won't recognize DVD disc, it's possible that the disc is damaged, or there might be an issue with your reader, and then you might have to replace it.
What can I practise if the DVD driver for Windows 10 is not detected?
- Delete the IDE ATA/ATAPI controllers from Device Manager
- Create new registry keys
- Check if your DVD drive is properly continued
- Prepare your DVD drive every bit the offset kick device in BIOS
- Remove Virtual Drive Software
- Use the Hardware Troubleshooter
- Load BIOS Defaults
- Run the SFC scan
- Use DISM
1. Delete the IDE ATA/ATAPI controllers from Device Manager
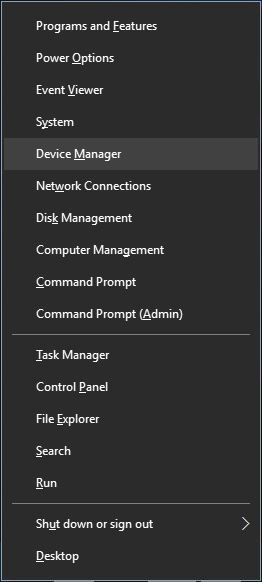
- Printing Windows Key + X to open Ability User Card.
- Select Device Manager from the list.
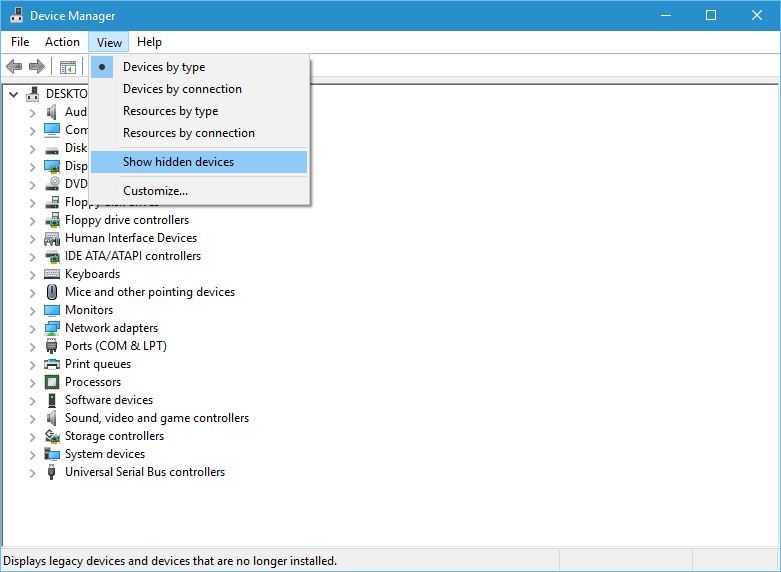
- Once the Device Director opens, go to View and choose Show subconscious devices.
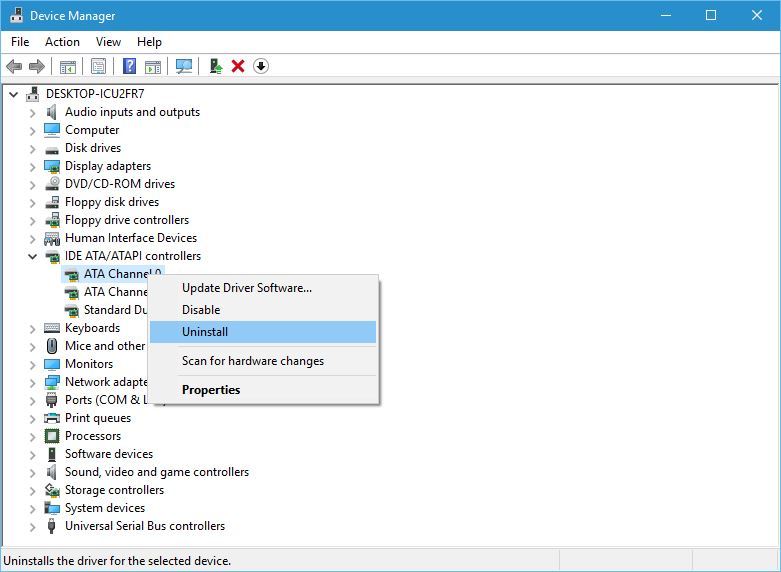
- Locate ATA Aqueduct controllers and uninstall them all by correct-clicking them and choosing Uninstall from the menu.
- Optional: Users also advise removing Intel (R) Series ATA Storage Controller, so if you have it make sure that yous remove information technology as well.
- Afterward you're done shut Device Director and restart your PC.
Users reported that this problem can be easily fixed by uninstalling IDE ATA/ATAPI controllers from Device Director.
If you don't accept ATA Channel available in the Device Director, exist sure to delete SATA controller and restart your computer. When your calculator restarts the DVD bulldoze should announced over again.
Some users are besides suggesting to remove your DVD drive from Device Manager, so you might desire to attempt that likewise.
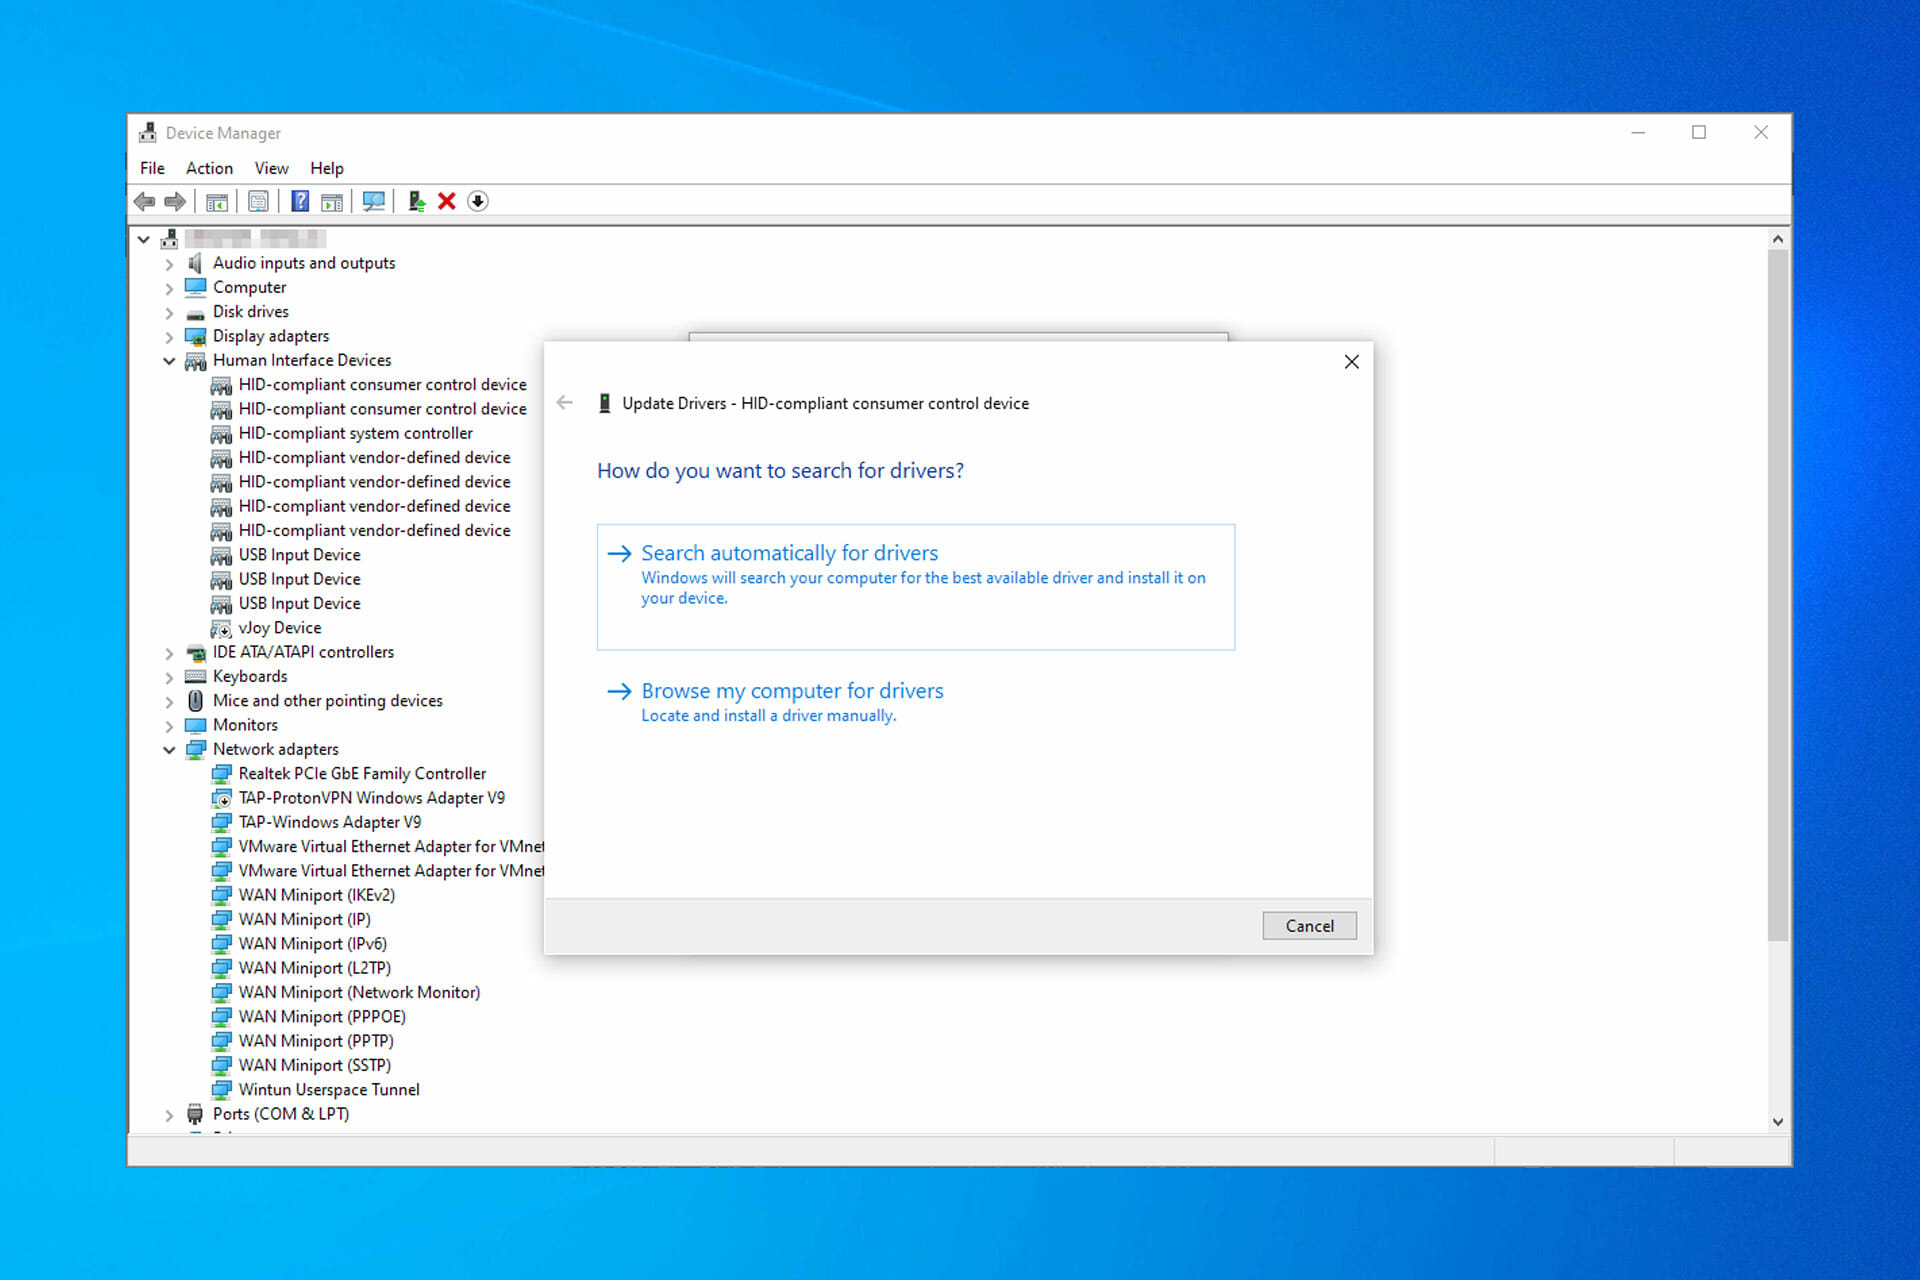
In addition to deleting devices from Device Manager, some users are too recommending that y'all download and install the latest drivers for your DVD drive.
To do that just visit your DVD drive manufacturer's website and download the latest drivers for your device.
- Struggling wit h outdated drivers? Exist a step ahead using this guide.
1.1 Update drivers automatically
If you don't want the hassle of updating drivers manually, we strongly suggest to do it automatically by using DriverFix.
After several tests, our team ended that this is the best-automatized solution. Beneath yous tin can find a quick guide on how to exercise information technology:
- Download and installDriverFix.
- Once installed, the program will start scanning your PC for outdated drivers automatically.
- All yous need to do is wait for the browse to complete.
- Review the list and see if you want to update each driver individually or all at once.
⇒ Go DriverFix
two. Create new registry keys
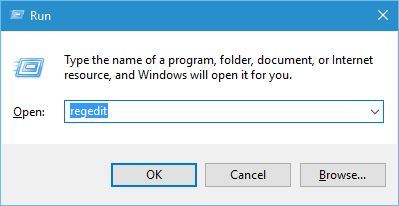
- Printing Windows Key + R and enter regedit.
- Printing Enter or click OK to beginning Registry Editor.
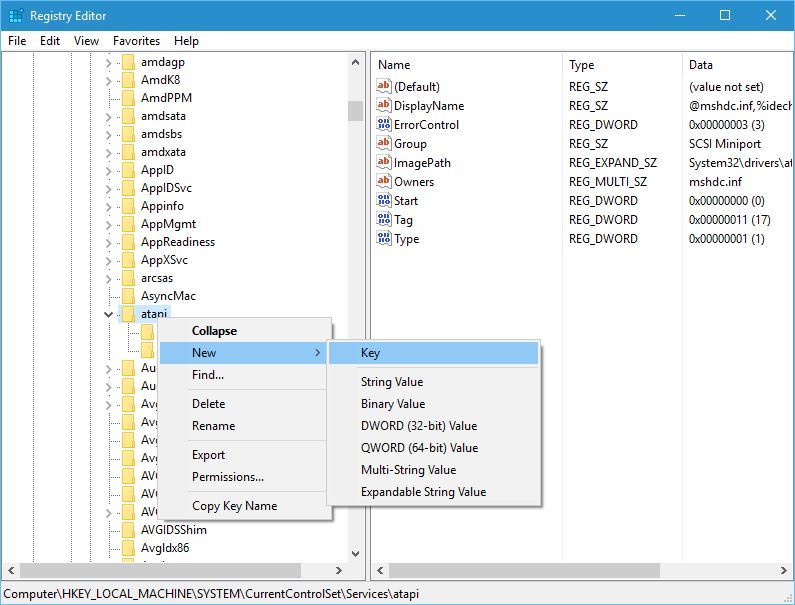
- In one case Registry Editor opens, become to the post-obit key in the left console:
HKEY_LOCAL_MACHINE/SYSTEM/CurrentControl/SetServicesatapi - Right-click atapi and select New > Key.
- Enter Controller0 as the name of the new key.
- Select Controller0 and in the correct pane correct-click the empty space and select New > DWORD (32-bit) Value.
- Enter EnumDevice1 as the proper name of new DWORD.
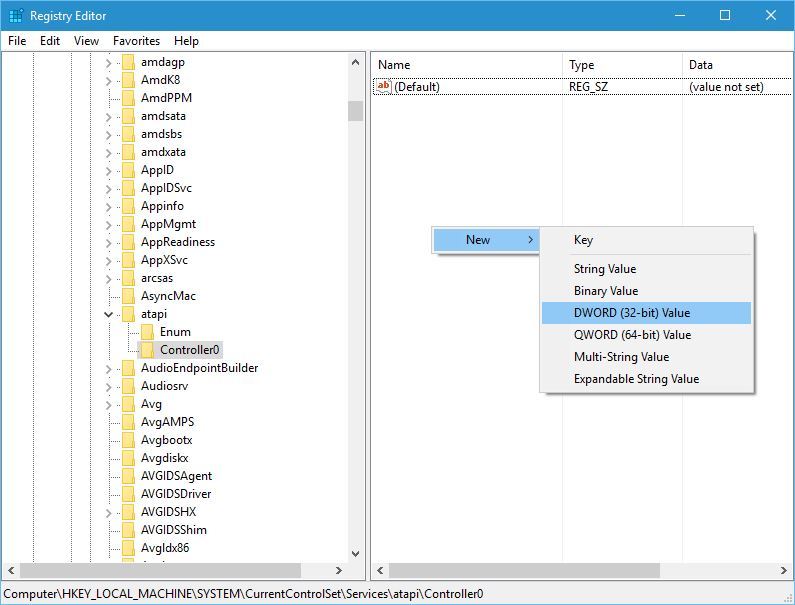
- Enter EnumDevice1 as the proper name of new DWORD.
- Double click EnumDevice1 DWORD to open up its properties.
- Enter i in Value data input field and click OK to save changes.
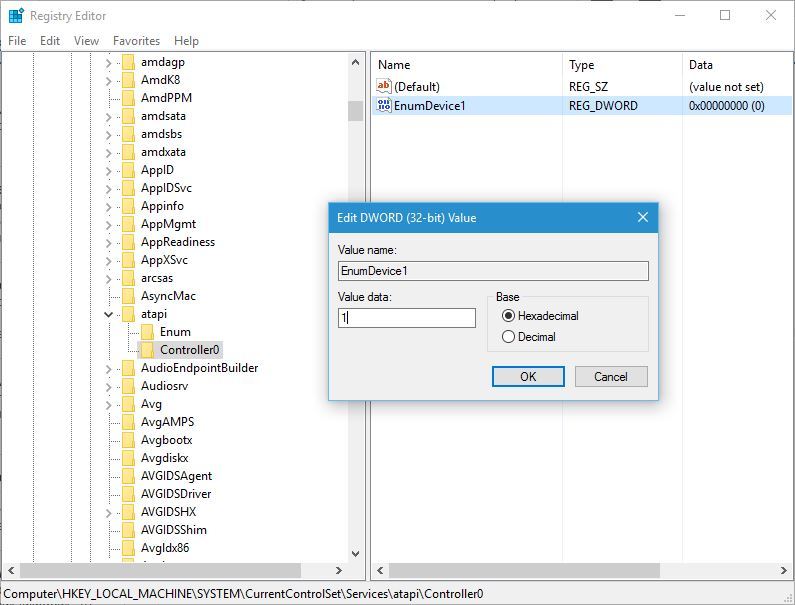
- Enter i in Value data input field and click OK to save changes.
Users reported that you can fix this issue by modifying your registry, and before we start nosotros have to warn you that modifying the registry can sometimes cause instability issues, therefore utilize extra caution.
In improver, it might exist a good idea that y'all create a backup of your registry in instance anything goes incorrect.
Some users reported that you might have to create another controller key if you have more than than one DVD drive on your organization.
To practise that, echo the same steps from above, simply instead of calling the new primal Controller0, be sure to proper name it Controller1.
If yous don't want to apply Registry Editor, you can practise the same thing by using Control Prompt. To do that follow these steps:
- Press Windows Key + X and select Command Prompt (Admin) from the bill of fare.
- Once the Command Prompt opens enter the following line and press Enter to run it:
reg.exe add "HKLMSystemCurrentControlSetServicesatapiController0" /f /v EnumDevice1 /t REG_DWORD /d 0x00000001
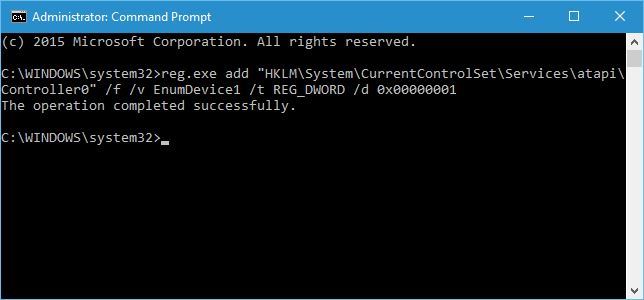
- Close Command Prompt and restart your computer.
By using Command Prompt yous'll perform the same action as adding the registry fundamental manually, therefore it'due south a decent and somewhat quicker alternative.
3. Bank check if your DVD drive is properly continued
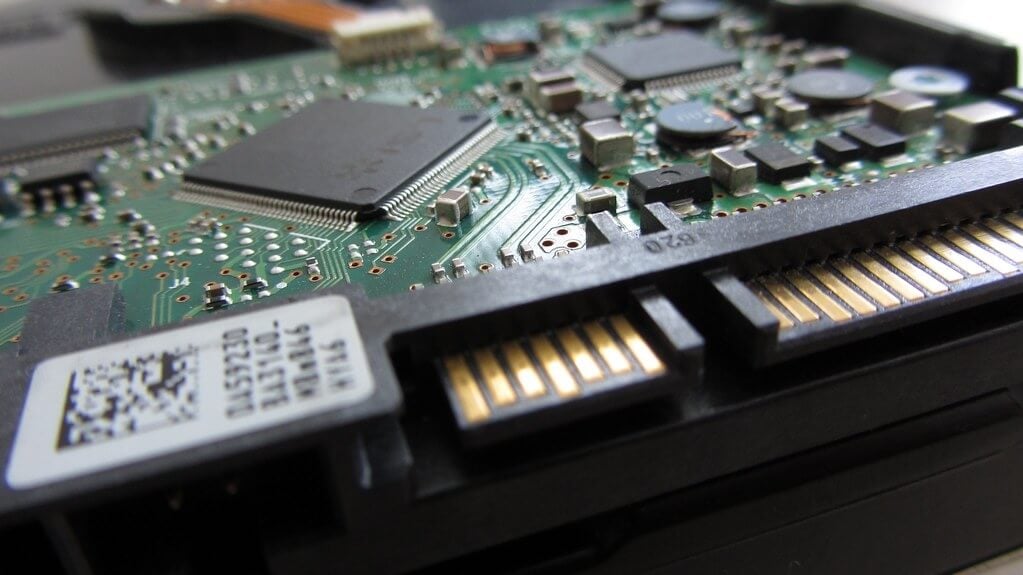
Few users reported that this outcome was caused past the improperly connected DVD drive.
According to them, the DVD drive was connected to the SATA 1 port on their motherboard while hard drives were connected to unlike ports.
Some motherboards crave that you connect your media drives, such as your DVD drive to a SATA four or SATA 5 port in order for them to work properly.
Afterward reconnecting the DVD drive to the appropriate port the effect was stock-still.
If you're having this problem on your PC, we strongly suggest that y'all check your motherboard manual and see if your DVD drive is properly continued.
4. Set your DVD drive every bit the first kick device in BIOS
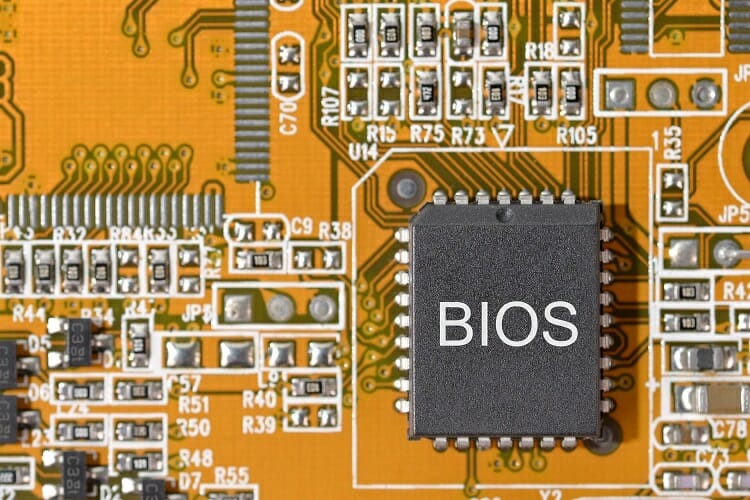
According to users, you lot tin can set the trouble with the missing DVD drive in Windows 10 by setting the DVD drive as the get-go boot device in BIOS.
To do that yous need to enter BIOS by pressing Del or F2 key during the boot sequence and navigate to the Boot department and set the DVD bulldoze equally the outset kick device.
For detailed instructions on how to enter BIOS and how to set the DVD drive as the showtime boot device exist certain to bank check your motherboard manual for detailed instructions.
five. Remove Virtual Bulldoze Software
If you accept Virtual Bulldoze software installed on your figurer, there's a gamble it interferes with your concrete DVD drive. Therefore, the actual DVD drive won't testify in the File Explorer.
So, if none of the solutions listed in a higher place managed to resolve the problem, go and uninstall the Virtual Bulldoze, and see if there are any positive changes.
If things are the same, plough to some other troubleshooting method. You may as well install your Virtual Drive again.
6. Employ the Hardware Troubleshooter
- Open Settings.
- Caput over to Updates & Security > Troubleshooting.
- Now, click Hardware & devices, and go to Run the troubleshooter.
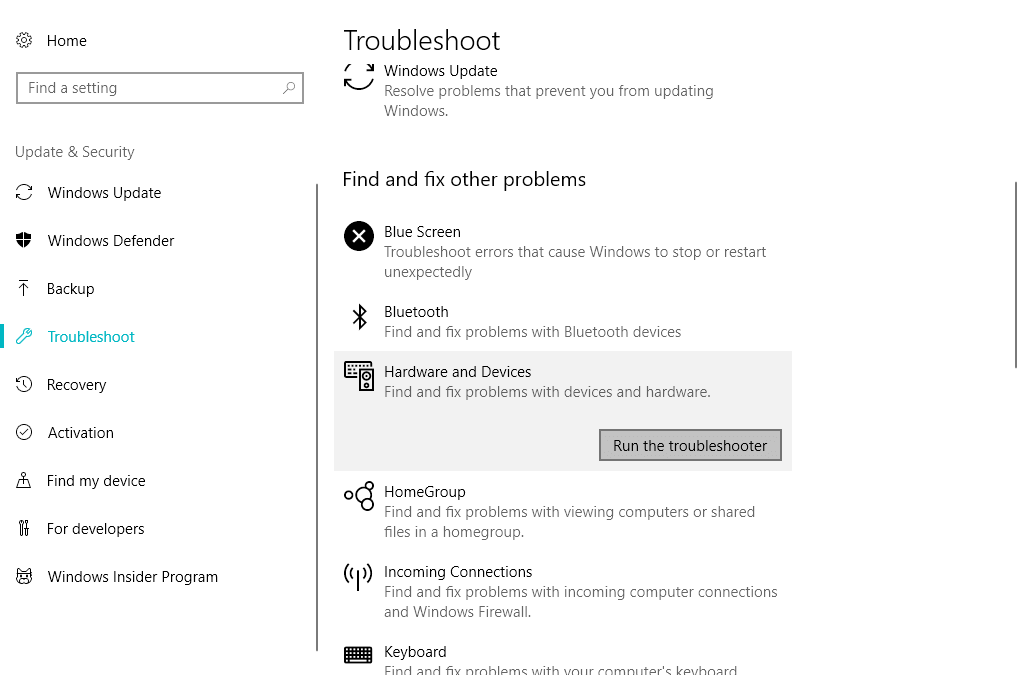
- Follow further on-screen instructions, and let the troubleshooter finish the process.
- Restart your figurer.
If y'all're using Windows x Spring Creators Update (2017) or later, y'all have a new troubleshooting tool.
This tool is designed to bargain with various organization and hardware issues. Therefore, it may exist helpful in this case, as well.
If you're having trouble opening the Setting app, accept a look at this article to solve the issue.
If the Troubleshooter stops earlier completing the process, ready it with the help of this complete guide.
7. Load BIOS defaults
- Enter the BIOS settings of your computer (if you're non sure how, google your laptop or PC model).
- Navigate to the Exit tab and select Optimal Defaults
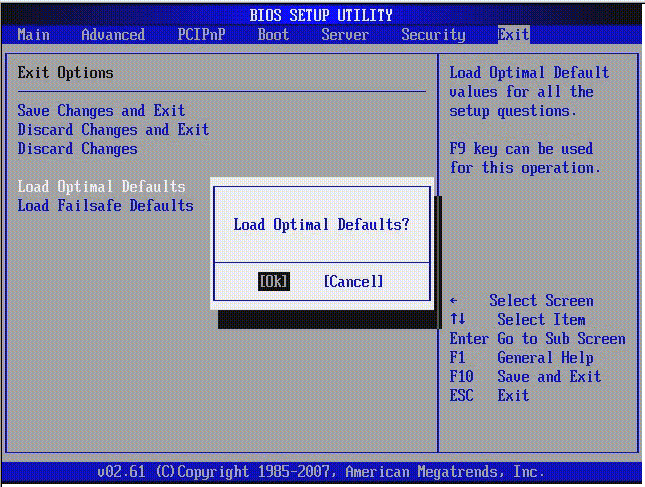
- Press Enter
- At present press F10 to save the changes and starting time your calculator again
It's too possible that your BIOS simply doesn't recognize the DVD drive. So, the right solution, in this case, would be to simply load the BIOS defaults.
8. Run the SFC scan
- Open Command Prompt every bit Administrator.
- Type in the following control, and printing Enter:sfc/scannow
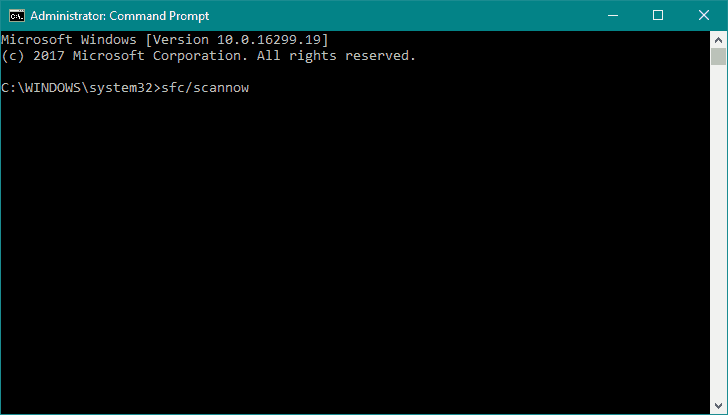
- Wait for the process to end (it tin exist a lengthy one).
- Restart your computer
If none of the solutions listed in a higher place managed to resolve the problem, we're going to try with a gear up of built-in troubleshooting tools.
The start thing we're going to attempt is the SFC scan. The SFC scan is an nether the hood troubleshooting tool that can resolve diverse system problems.
nine. Use DISM
- Open up theControl Promptas an administrator.
- In the command line, copy-paste these lines one by one and press Enter after each:
DISM/online/Cleanup-Prototype/ScanHealth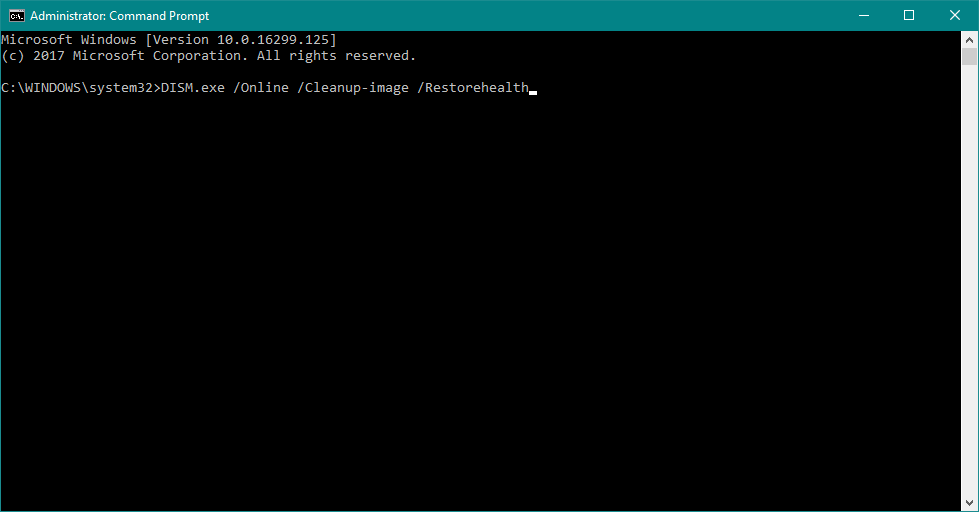
-
DISM/Online/Cleanup-Image/RestoreHealth
-
- Expect until the procedure ends (it might take upwards to 10 minutes).
- Restart your PC.
Similarly to the SFC browse, the DISM (Deployment Image Servicing and Management) is besides a troubleshooting tool, merely a more powerful ane.
So, if the SFC scan didn't get the task washed, perhaps nosotros'll take more than luck with the DISM.
- DISM fails on Windows? Cheque out this quick guide and get rid of the worries.
Missing DVD drives in Windows 10 tin be a big problem, but you tin can easily ready information technology by using one of our solutions.
If y'all have any other suggestions or questions, don't hesitate to leave them in the comments section below and we'll be certain to take a await.
Oftentimes Asked Questions
-
Mod DVD drives can write on all types of DVDs as well as all types of CDs.
-
In short, no. With DVDs losing popularity, most laptop manufacturers prefer non to include optical drives. The newest trend is to slowly migrate to USB-C ports.
-
Yes, DVD drives can exist bought as separate pieces of hardware every bit long every bit they have the necessary slots included. If you have compatibility issues, check out this in-depth guide for more info.
![]()
Source: https://windowsreport.com/dvd-drive-windows-10/
Posted by: tylerhishadinin.blogspot.com
0 Response to "How To Install Dvd Drive On Windows 10"
Post a Comment